
Key Takeaways
- Start with your home’s comfort problems, insulation, ductwork, and electrical capacity before choosing equipment.
- Ducted, ductless, and hybrid systems each suit different layouts, climates, and backup heating needs.
- A room-by-room load calculation is more reliable than selecting a system based on square footage alone.
- Detailed quotes should cover electrical work, permits, controls, duct repairs, commissioning, and warranty terms.
- Rebate and utility-program requirements can change, so verify eligibility before ordering equipment.
Why Heat Pump Planning Matters
A heat pump upgrade is more than replacing an outdoor unit. It is a home-comfort project that can involve airflow, insulation, electrical service, drainage, controls, and the condition of existing ducts. Planning these details before signing a contract can prevent rushed decisions, surprise costs, and uneven temperatures after installation.
Heat pumps provide both heating and cooling by moving heat rather than generating it through combustion. In winter, they can move heat from outdoors into the home, and in summer, they move heat from indoors outside. Their real-world performance depends on the equipment, local climate, energy prices, home design, and installation quality.
Start With a Home Comfort Check
Before requesting quotes, identify the problems you want the project to solve. Note rooms that are too warm or too cold, rising energy bills, noisy equipment, humidity concerns, and areas with weak airflow. Also consider whether your home has central ducts, how old the current furnace or air conditioner is, and whether the electrical panel has room for new circuits.
An older home with leaky ducts is a useful example. Installing a larger system may not fix a chilly bedroom or a stuffy upstairs area if conditioned air escapes before it reaches those rooms. In that situation, duct sealing, return-air improvements, insulation, or zoning may matter more than additional equipment capacity.
Choose the Right System Type
Ducted Heat Pumps
Ducted systems distribute conditioned air through supply and return ducts. They can be a practical choice when the existing duct network is properly sized, sealed, insulated, and accessible for repairs. A duct inspection should precede equipment selection because undersized returns, disconnected runs, or poorly sealed joints can compromise comfort and increase operating costs.
Ductless Mini-Split Systems
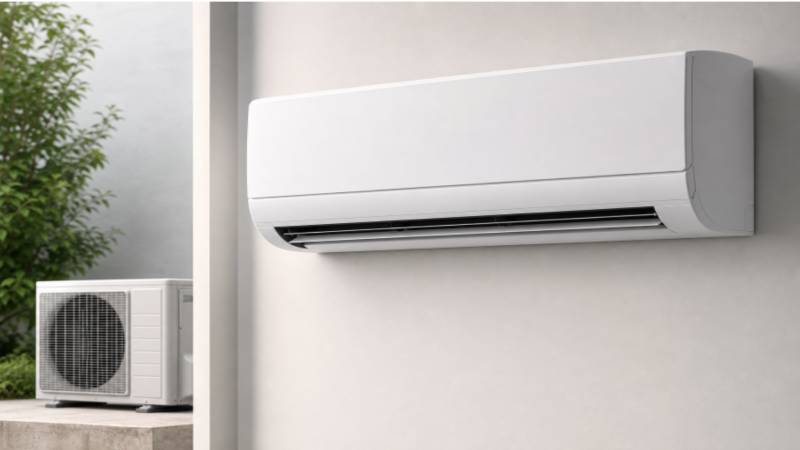
Ductless mini-splits use one or more indoor air handlers connected to an outdoor unit. They can work well in older homes, additions, finished attics, garages, or rooms where new ductwork would be disruptive. Zoning can help households set different temperatures in different areas, but homeowners should also consider indoor-unit placement, visible equipment, condensate drainage, and regular filter cleaning.
Hybrid or Dual-Fuel Systems
Hybrid systems combine a heat pump with a secondary heat source, often a gas furnace. This approach can suit homeowners who want flexibility during unusually cold weather or when electricity prices are high. The controls should be set up to determine when each heat source operates, rather than leaving that decision to guesswork.
Check Sizing, Efficiency, and Climate Fit
Correct sizing requires a room-by-room heating and cooling load calculation. Oversized equipment may cycle too frequently, reducing humidity control and creating temperature swings. Undersized equipment may struggle during very hot or cold conditions. Square footage is only one factor. Window area, insulation, air leakage, ceiling height, orientation, and occupancy also affect the load.
When comparing models, ask contractors to explain SEER2, HSPF2, and COP in plain language. SEER2 reflects seasonal cooling efficiency, HSPF2 reflects seasonal heating efficiency, and COP compares the heat delivered to the electricity used under specific conditions. The efficiency criteria for heat pump equipment can also help homeowners understand why ratings and cold-climate performance should be reviewed together.
Review the Home Before Selecting Equipment
Evaluate the house as carefully as the equipment. Check the attic, wall, and crawl space insulation. Look for drafts around doors, windows, plumbing penetrations, and recessed fixtures. Measure duct sizes and inspect for leakage. Review the electrical panel, available circuits, outdoor clearances, drainage routes, and the planned location for the outdoor unit.
Weatherization can sometimes deliver more value than a larger heat pump. Air sealing and insulation reduce heating and cooling demand, improve room-to-room comfort, and may allow a smaller system to serve the home effectively.
Plan Electrical Work and Budget Clearly
Some upgrades are simple equipment replacements, while others require a dedicated circuit, disconnect, new wiring, surge protection, or a panel upgrade. Ask whether the electrical scope is included in the proposal and what happens if the existing panel cannot support the selected system. It can also be wise to consider future needs such as an electric vehicle charger, solar equipment, or battery storage.
Compare budgets using complete categories rather than a single total. A strong proposal should identify equipment and accessories, labor, removal of old equipment, duct repairs or refrigerant line repairs, electrical work, thermostat upgrades, permits, inspections, startup testing, and expected maintenance. Prices vary widely by home layout, regional labor rates, system type, and the condition of existing components.
Check Rebates and Compare Quotes
Check for available utility, local, and state incentives before ordering equipment. Programs may require specific model numbers, efficiency levels, licensed contractors, income qualifications, or completion dates. Save model numbers, efficiency certificates, itemized invoices, permit records, contractor-license information, and application confirmations.
Compare at least two detailed quotes. Each should list capacity, indoor and outdoor components, efficiency ratings, thermostat, warranty coverage, schedule, and exclusions. Ask whether a load calculation was completed, whether ducts will be tested, what backup heat will be used, who obtains permits, who performs commissioning, and how airflow concerns will be addressed.
Know What Happens During Installation
A typical installation includes protecting the work area, removing old equipment, positioning indoor and outdoor units, connecting refrigerant lines, drains, wiring, and ducts, and then configuring controls. The crew should test heating and cooling modes, verify airflow and safety controls, inspect drainage, and document startup measurements. A straightforward replacement may be brief, but duct changes, electrical upgrades, structural work, and inspections can extend the timeline.
Watch for Common Problems and Plan Maintenance
Common issues include incorrect sizing, blocked outdoor airflow, unsealed duct connections, poor condensate drainage, improper refrigerant charge, weak thermostat placement, missing permits, and undocumented testing. A neat-looking installation is not necessarily a complete one. Commissioning results and clear paperwork matter.
After installation, change filters as needed, keep supply vents open, maintain clear space around the outdoor unit, and watch for unusual sounds or drainage problems. Professional service may include coil cleaning, electrical checks, drain inspection, airflow testing, and control verification. Homes with pets, heavy dust, or long operating hours may need more frequent filter attention.
Conclusion
A heat pump upgrade works best when it is planned as a whole-home comfort improvement rather than a simple equipment exchange. Reviewing the home first, choosing a climate-appropriate system, and confirming installation quality can help ensure dependable comfort year-round.See More